Set up Custom Fonts
Custom Fonts are now an almost standard part of modern web applications. We’ll be setting it up for our note taking app using Google Fonts.
This also gives us a chance to explore the structure of our newly created React.js app.
Include Google Fonts
For our project we’ll be using the combination of a Serif (PT Serif) and Sans-Serif (Open Sans) typeface. They will be served out through Google Fonts and can be used directly without having to host them on our end.
Let’s first include them in the HTML. Our React.js app is using a single HTML file.
 Go ahead and edit
 public/index.html and add the following line in the <head> section of the HTML to include the two typefaces.
<link rel="stylesheet" type="text/css" href="https://fonts.googleapis.com/css?family=PT+Serif|Open+Sans:300,400,600,700,800">
Here we are referencing all the 5 different weights (300, 400, 600, 700, and 800) of the Open Sans typeface.
Add the Fonts to the Styles
Now we are ready to add our newly added fonts to our stylesheets. Create React App helps separate the styles for our individual components and has a master stylesheet for the project located in src/index.css.
 Let’s change the current font in
 src/index.css for the body tag from font-family: sans-serif; to the following.
font-family: "Open Sans", sans-serif;
font-size: 16px;
color: #333;
 And let’s change the fonts for the header tags to our new Serif font by adding this block to the css file.
h1, h2, h3, h4, h5, h6 {
  font-family: "PT Serif", serif;
}
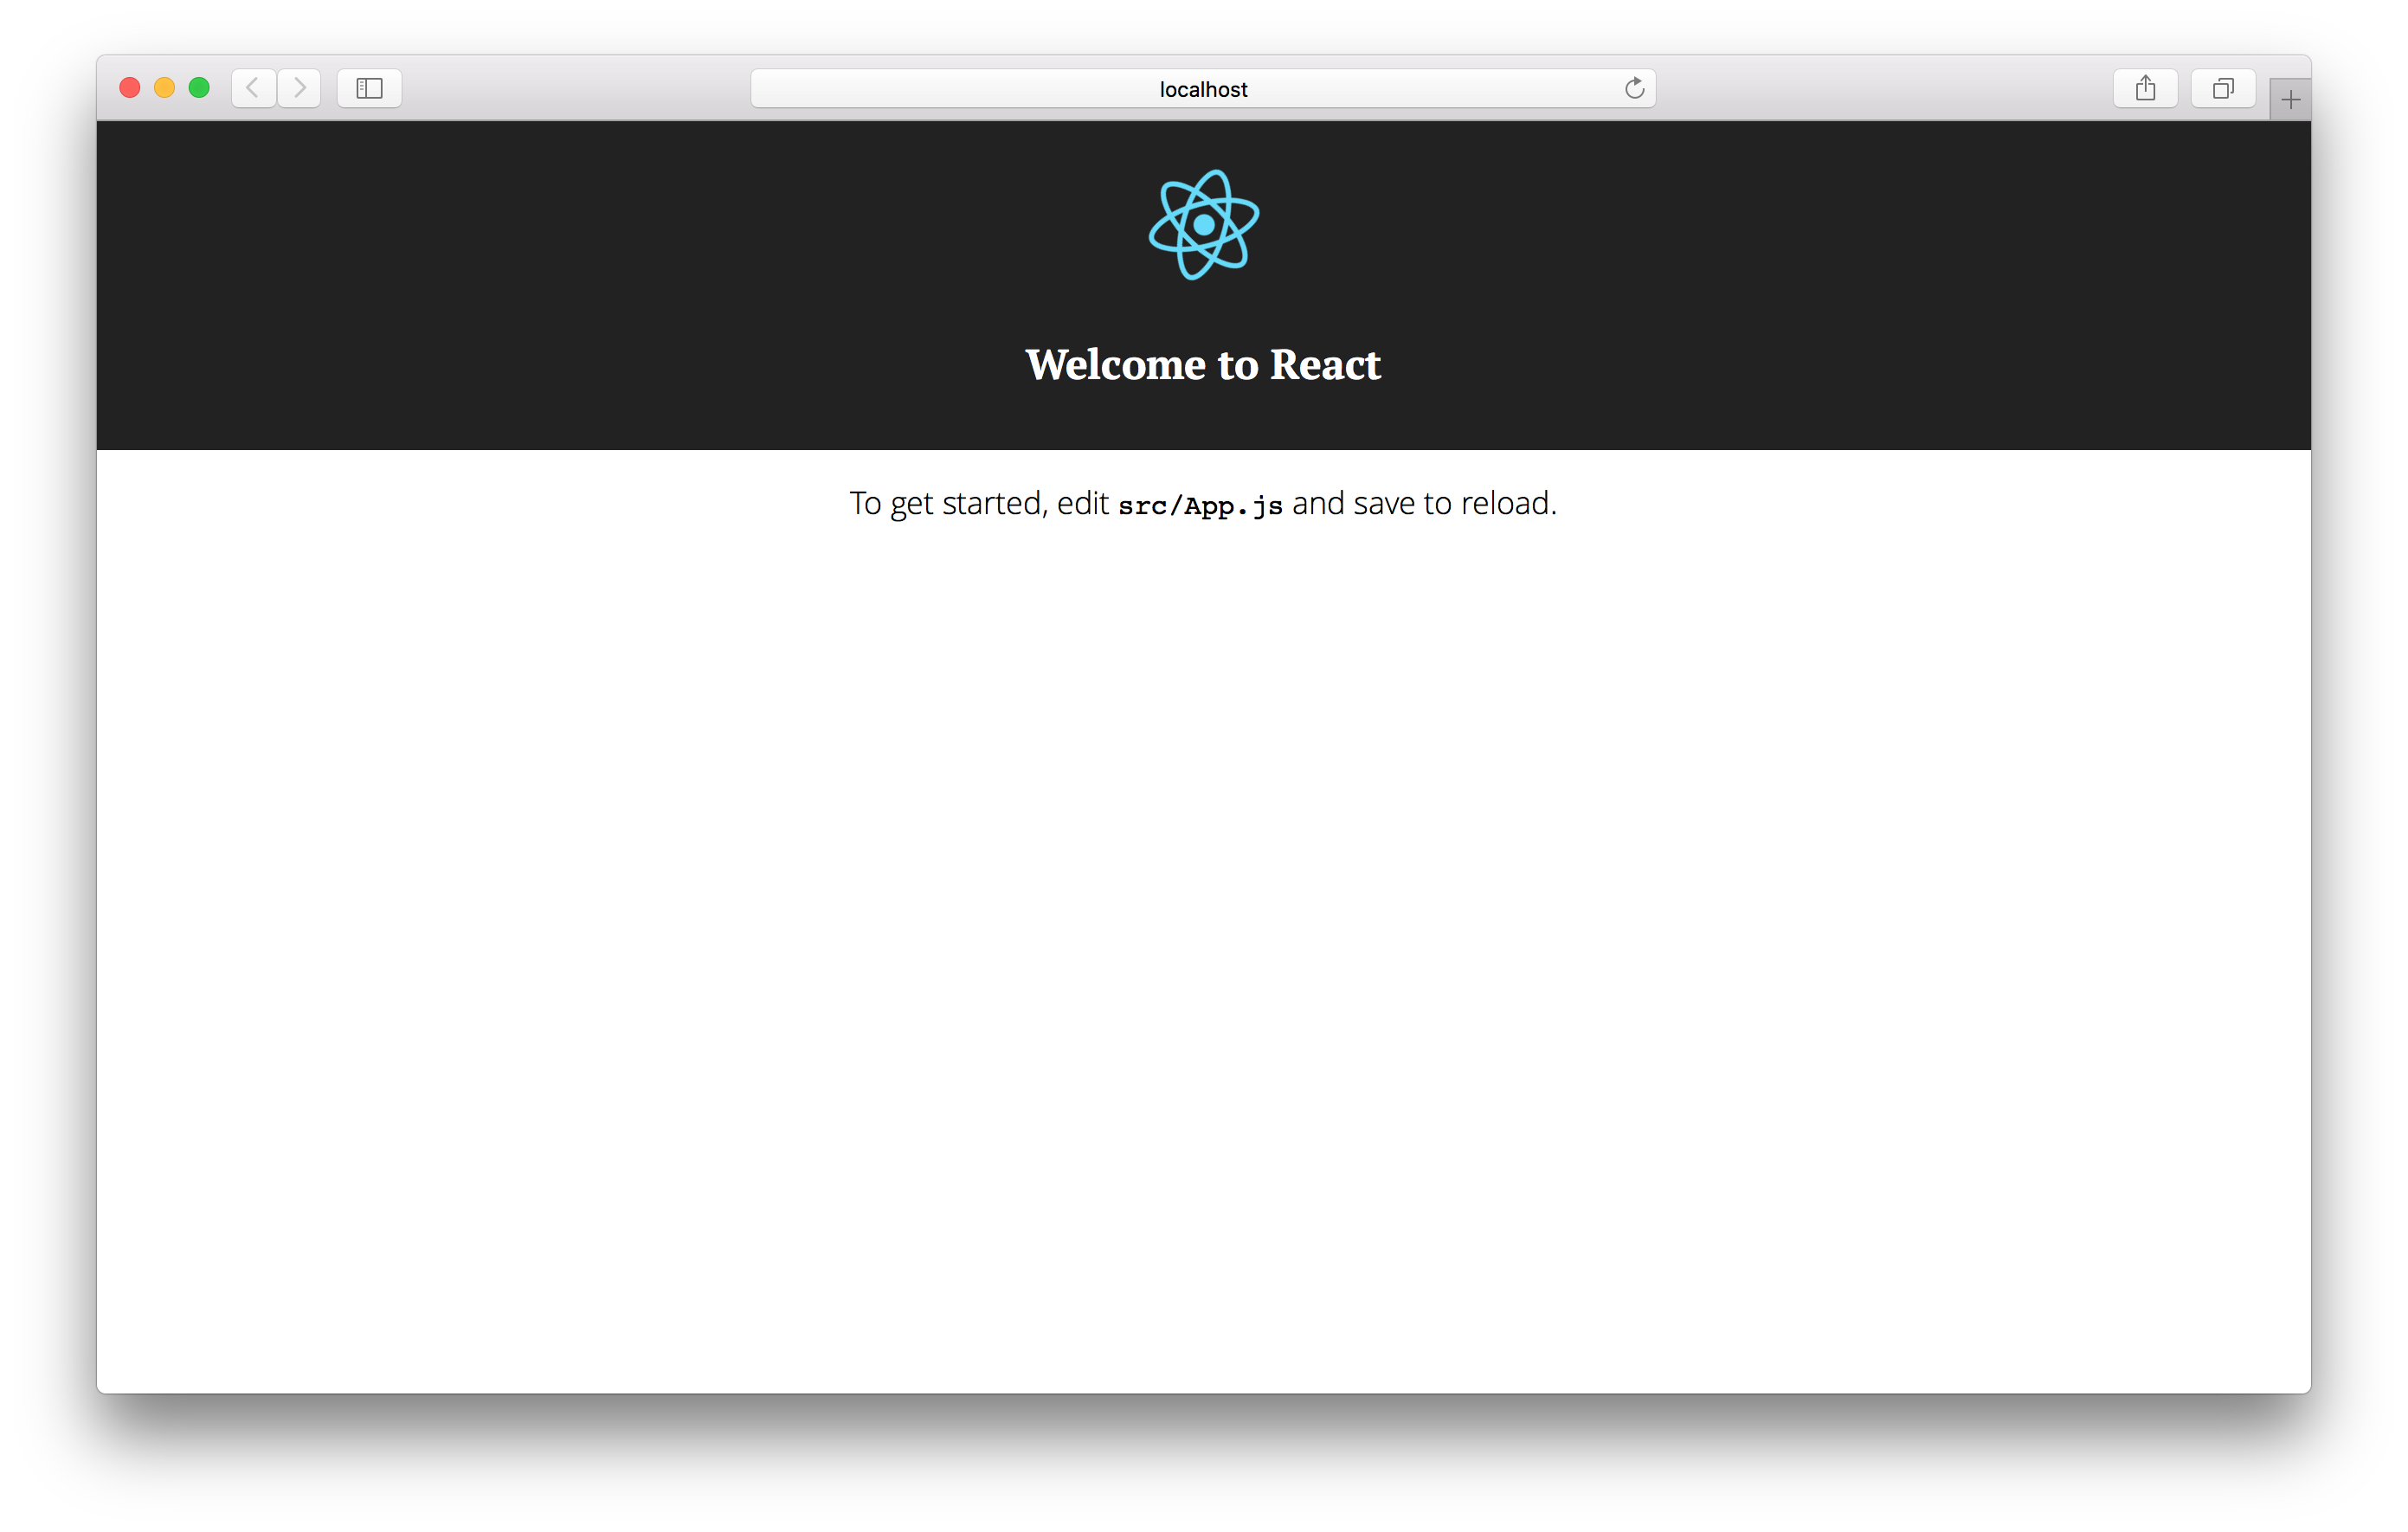
Now if you just flip over to your browser with our new app, you should see the new fonts update automatically; thanks to the live reloading.

We’ll stay on the theme of adding styles and set up our project with Bootstrap to ensure that we have a consistent UI Kit to work with while building our app.
If you liked this post, please subscribe to our newsletter, give us a star on GitHub, and follow us on Twitter.
For help and discussion
Comments on this chapter