Deploying Through Seed
Now, we are ready to make our first deployment. You can either Git push a new change to master to trigger it. Or we can just go into the dev stage and hit the Trigger Deploy button.
Let’s do it through Git.
 Go back to your project root and run the following.
$ npm version patch
This is simply updating the NPM version for your project. It is a good way to keep track of the changes you are making to your project. And it also creates a quick Git commit for us.
Push the change using.
$ git push
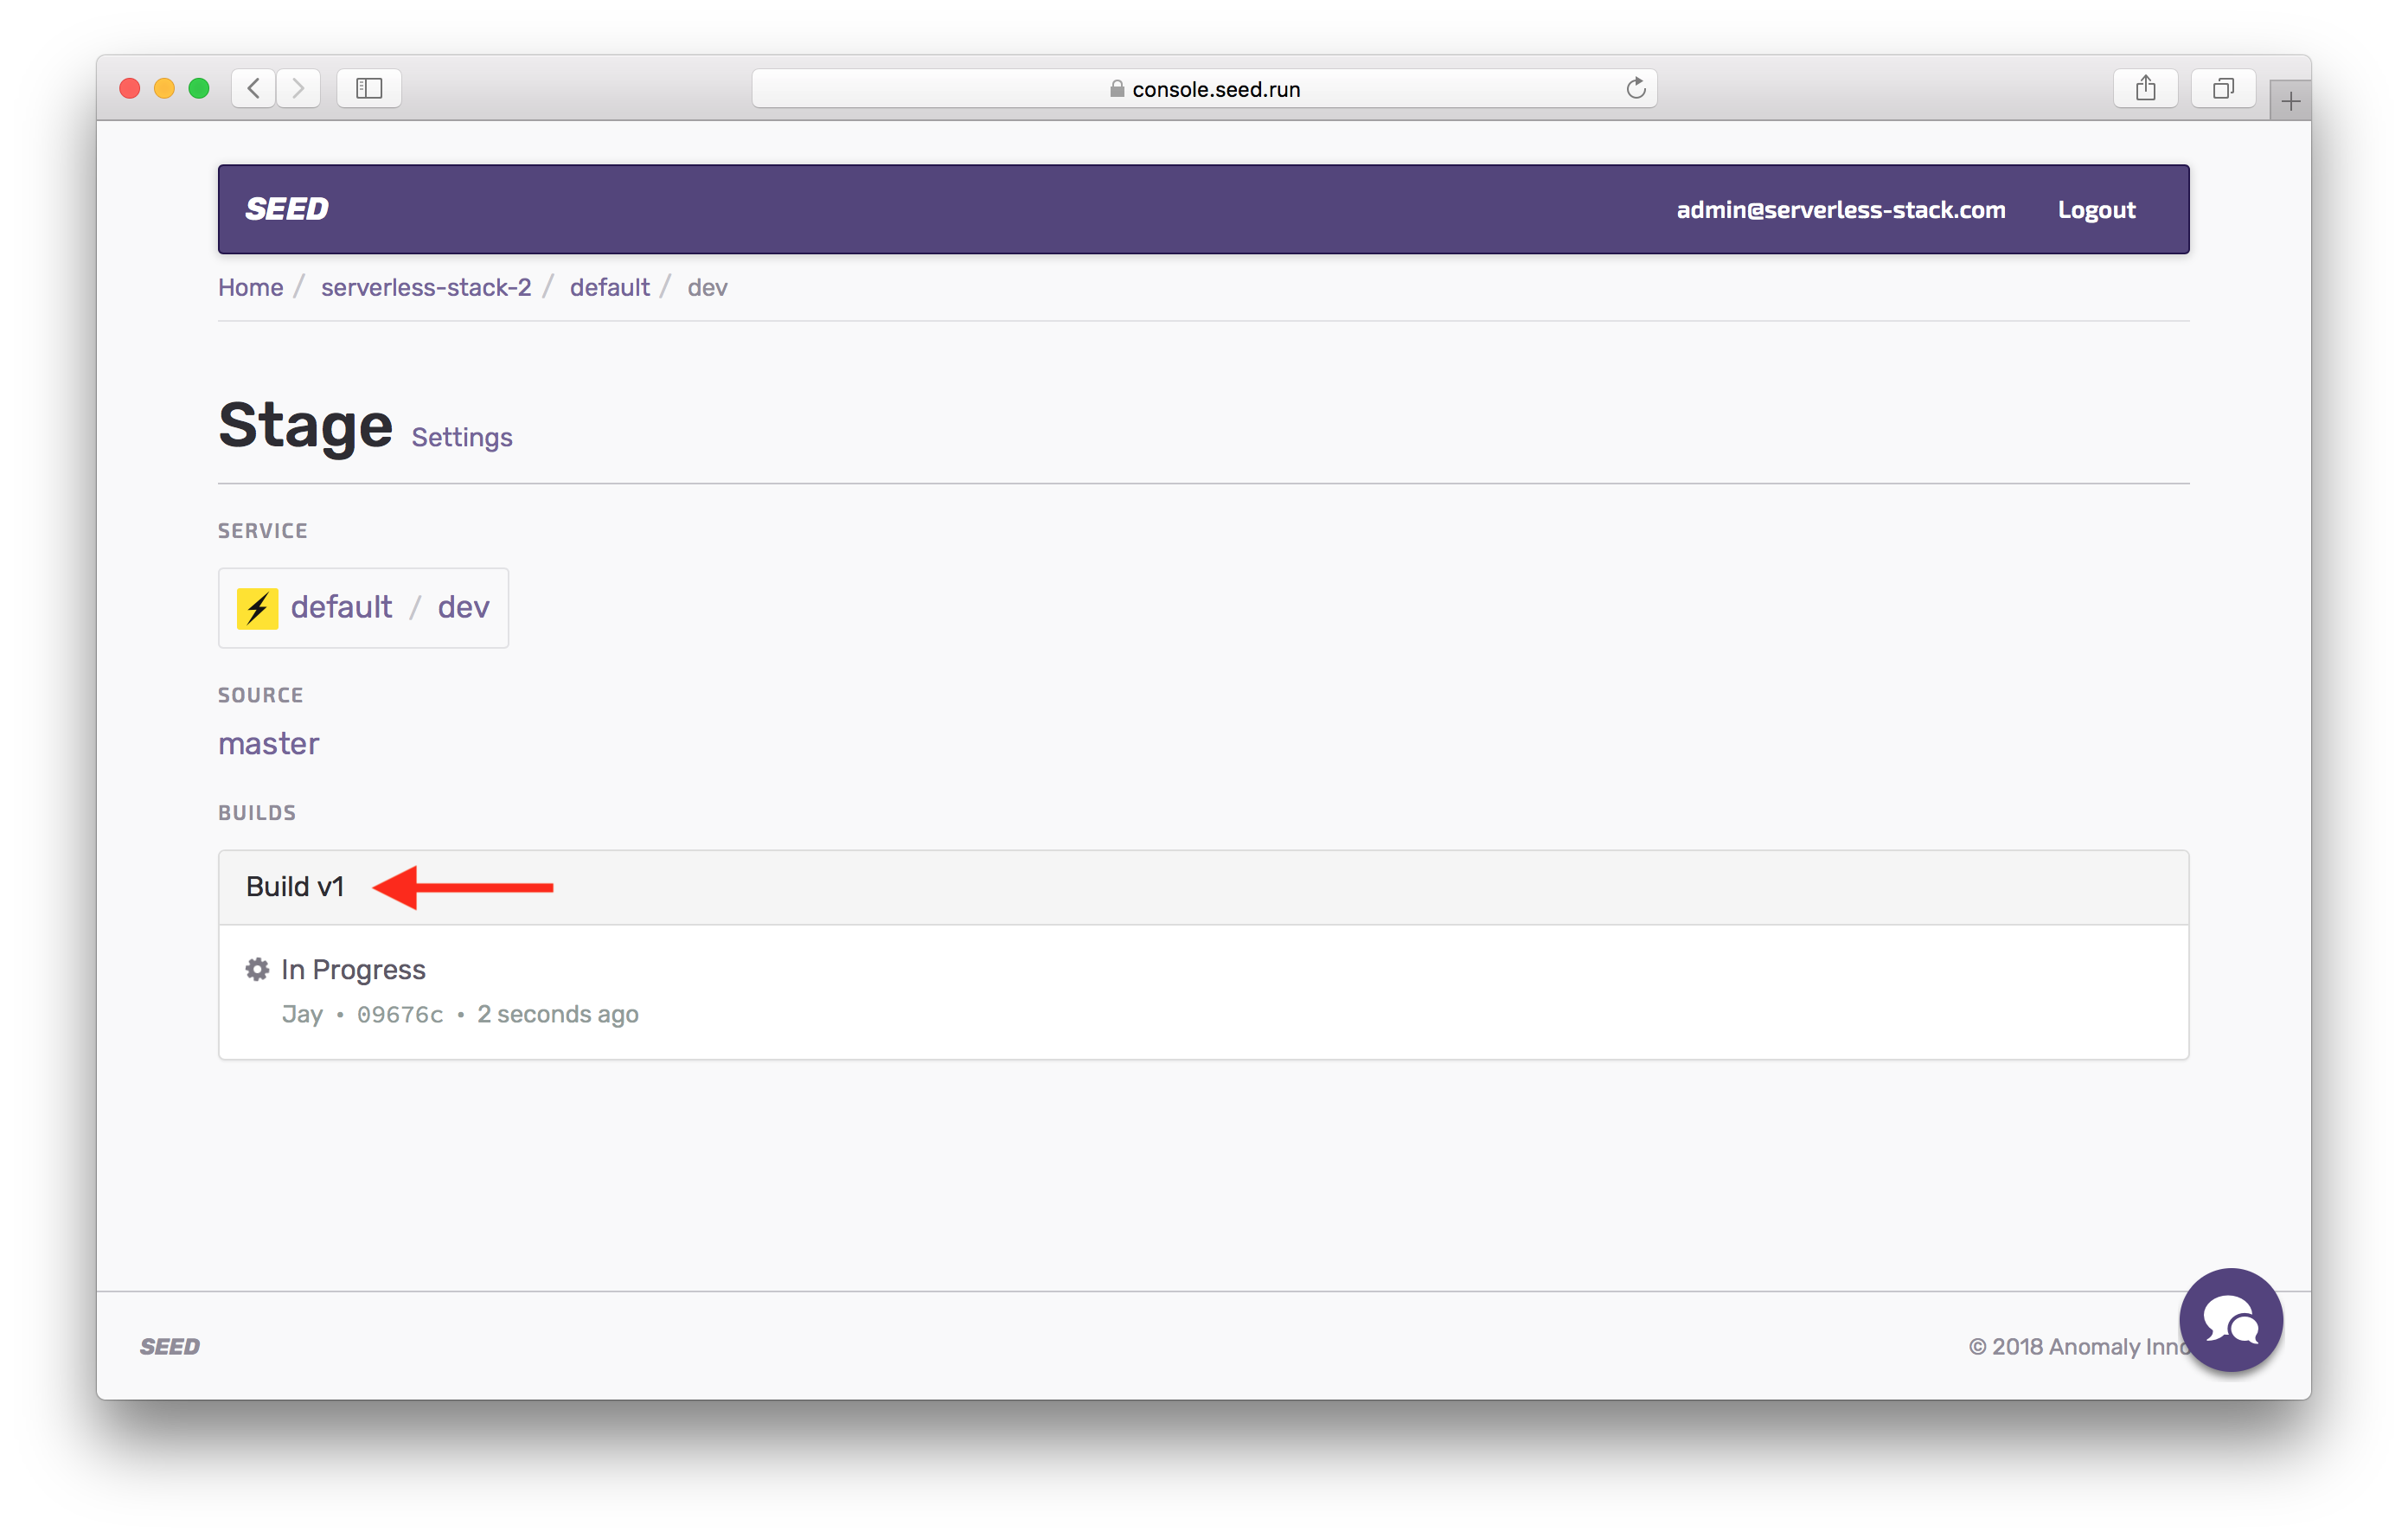
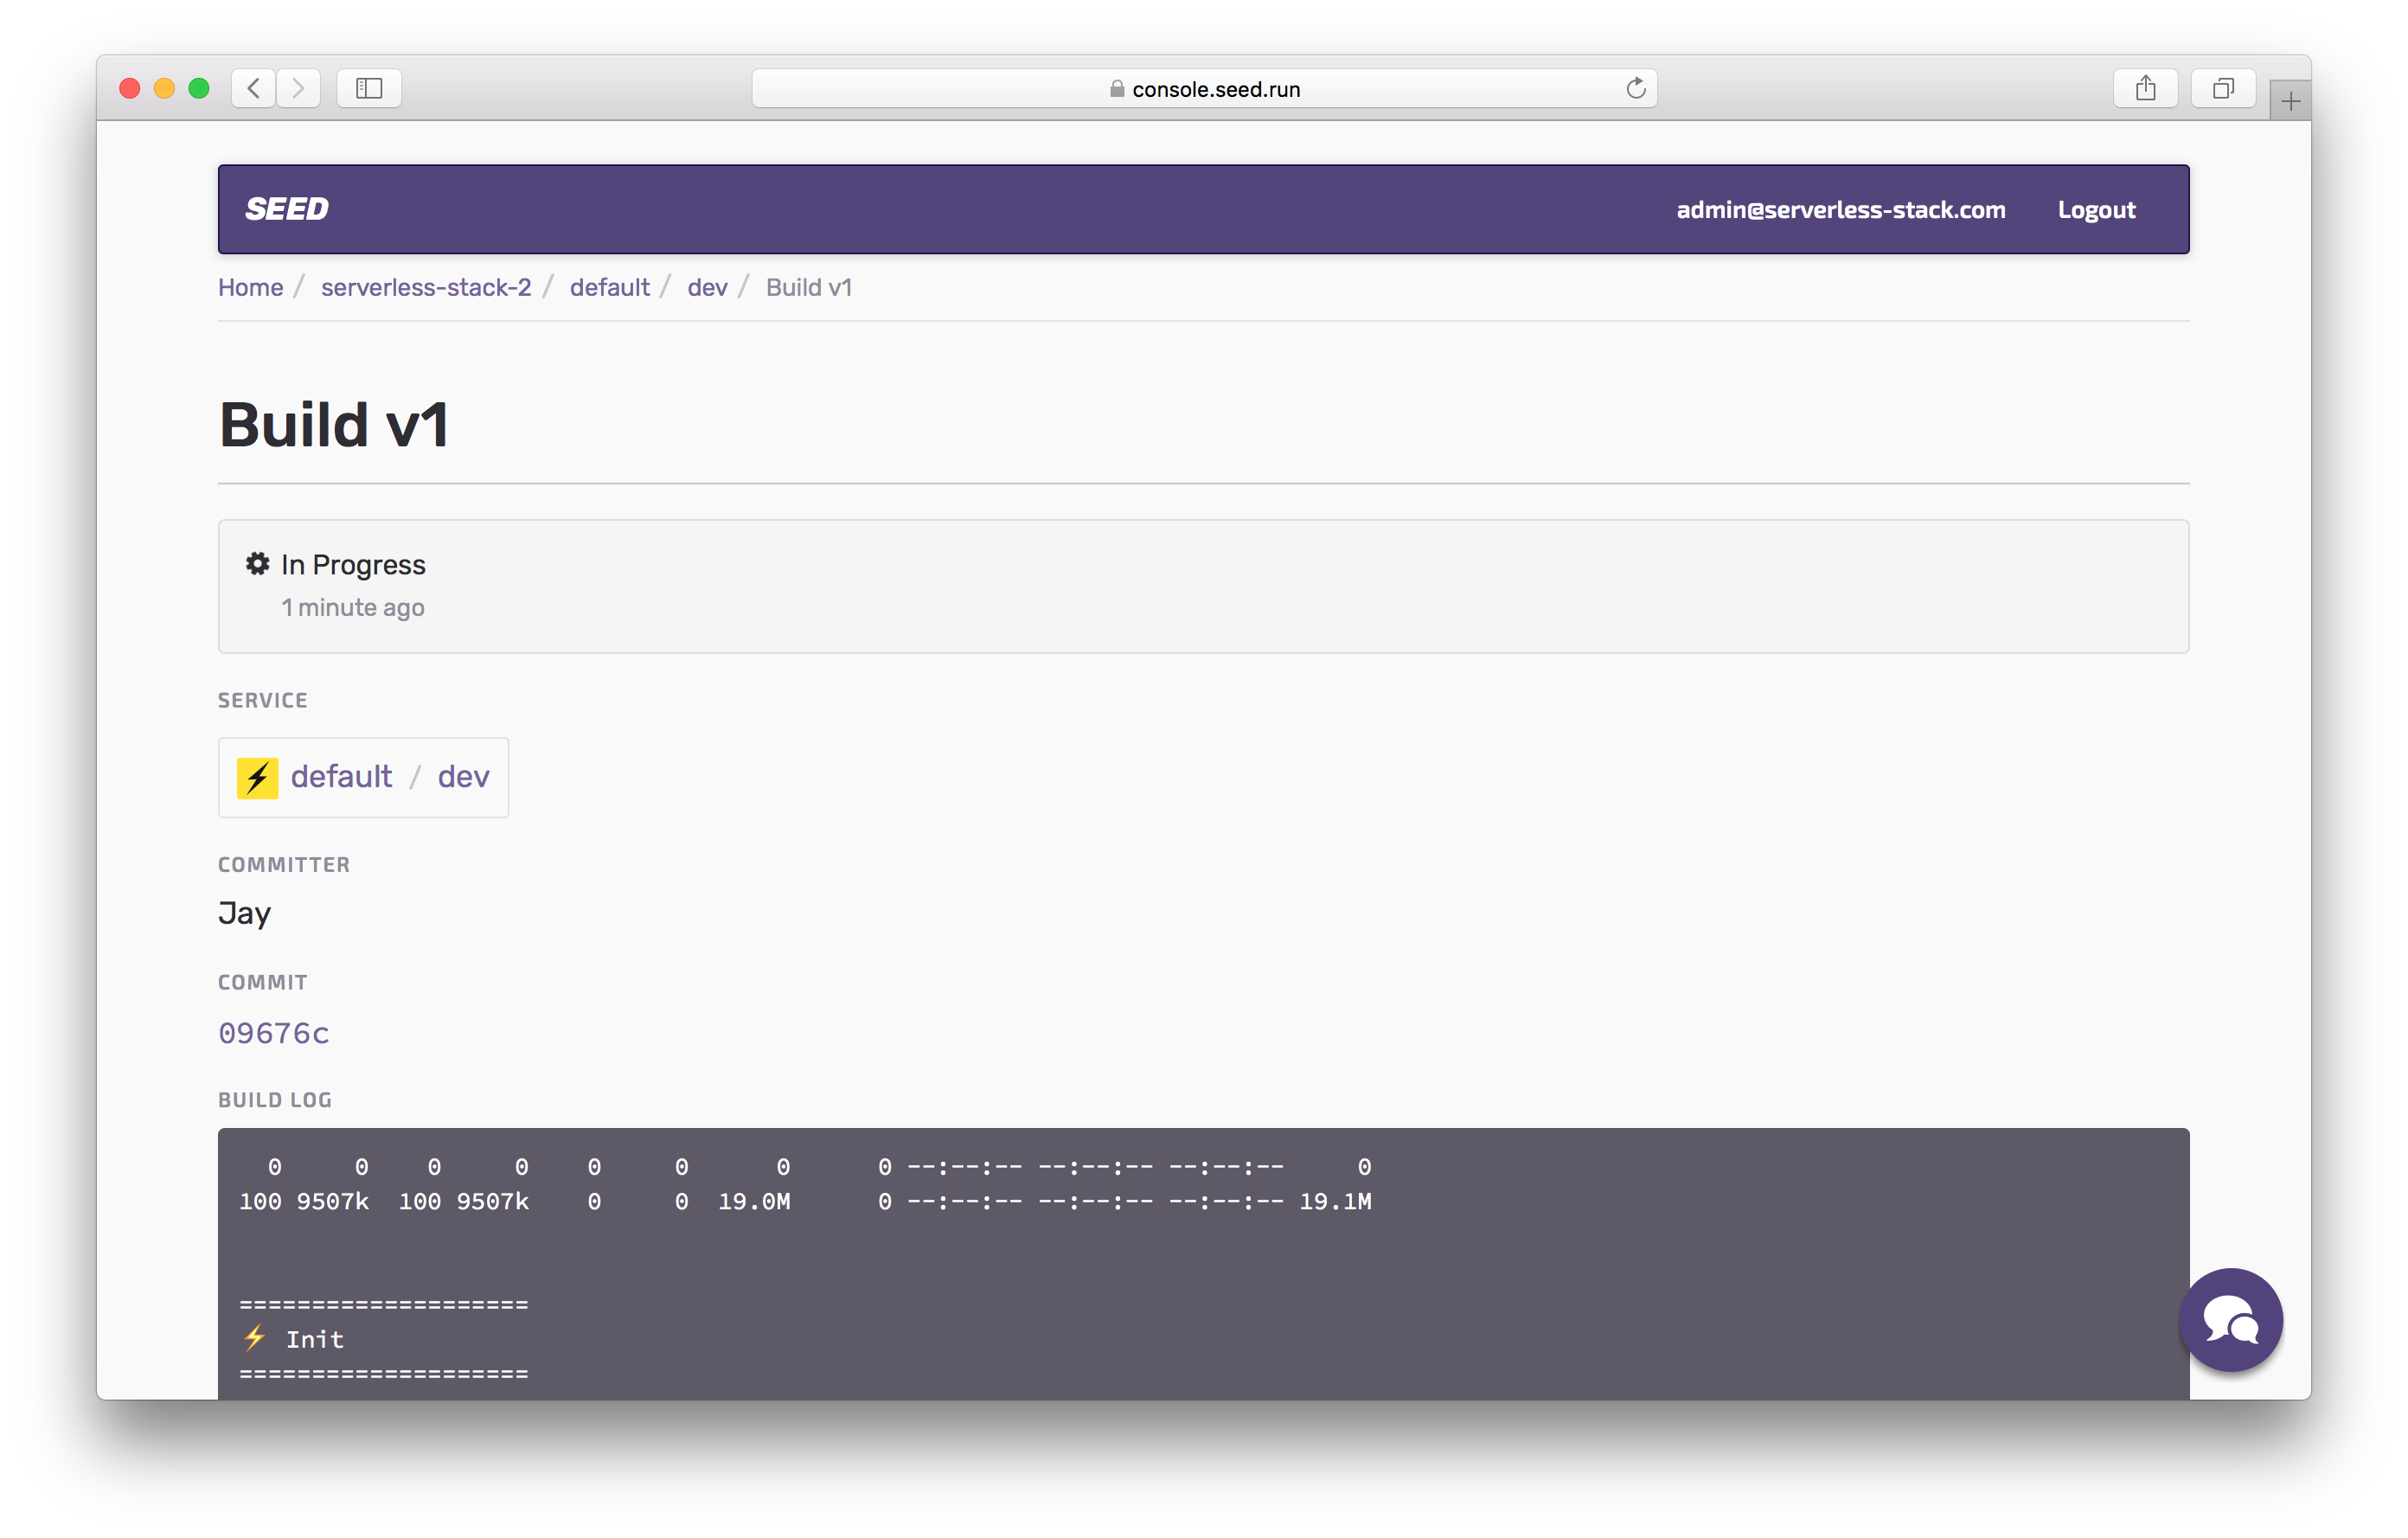
Now if you head into the dev stage in Seed, you should see a build in progress. Now to see the build logs, you can hit Build v1.
Here you’ll see the build taking place live.
Notice the tests are being run as a part of the build.
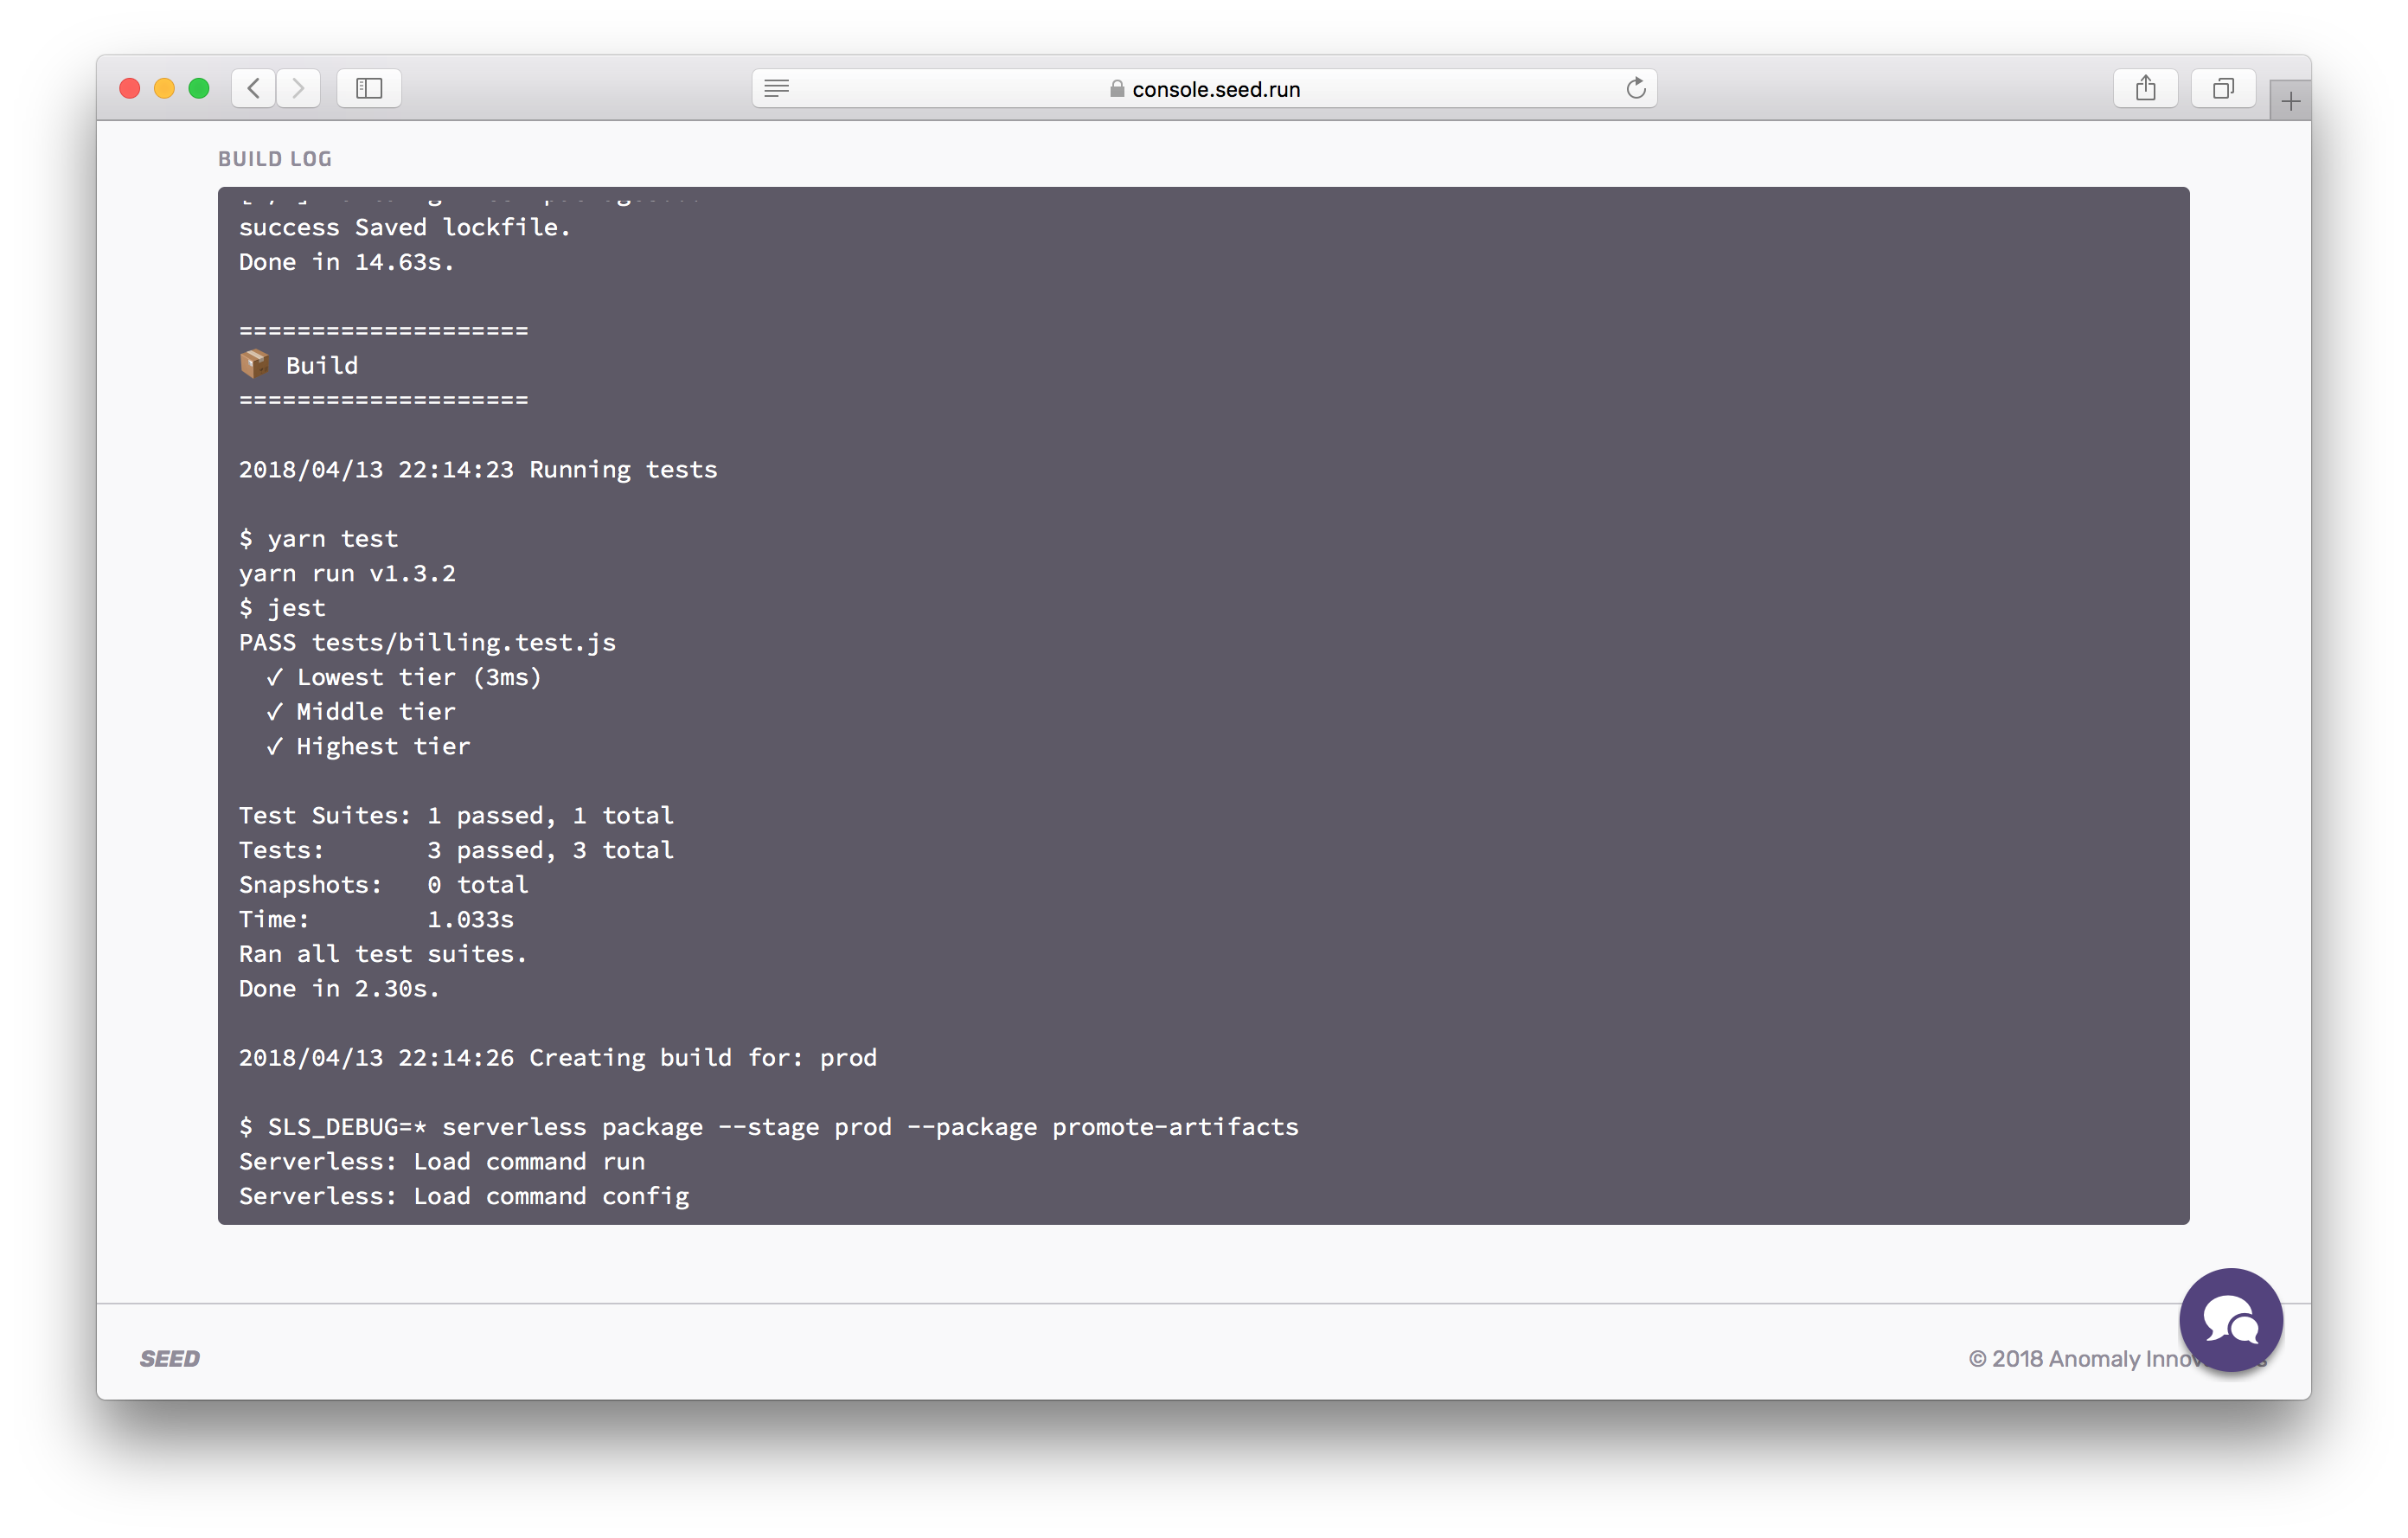
Something cool to note here is that, the build process is split into a few parts. First the code is checked out through Git and the tests are run. But we don’t directly deploy. Instead, we create a package for the dev stage and the prod stage. And finally we deploy to dev with that package. The reason this is split up is because we want avoid the build process while promoting to prod. This ensures that if we have a tested working build, it should just work when we promote to production.
You might also notice a couple of warnings that look like the following.
Serverless Warning --------------------------------------

A valid file to satisfy the declaration 'file(env.yml):dev,file(env.yml):default' could not be found.


Serverless Warning --------------------------------------

A valid file to satisfy the declaration 'file(env.yml):dev,file(env.yml):default' could not be found.


Serverless Warning --------------------------------------

A valid service attribute to satisfy the declaration 'self:custom.environment.stripeSecretKey' could not be found.
These are expected since the env.yml is not a part of our Git repo and is not available in the build process. The Stripe key is instead set directly in the Seed console.
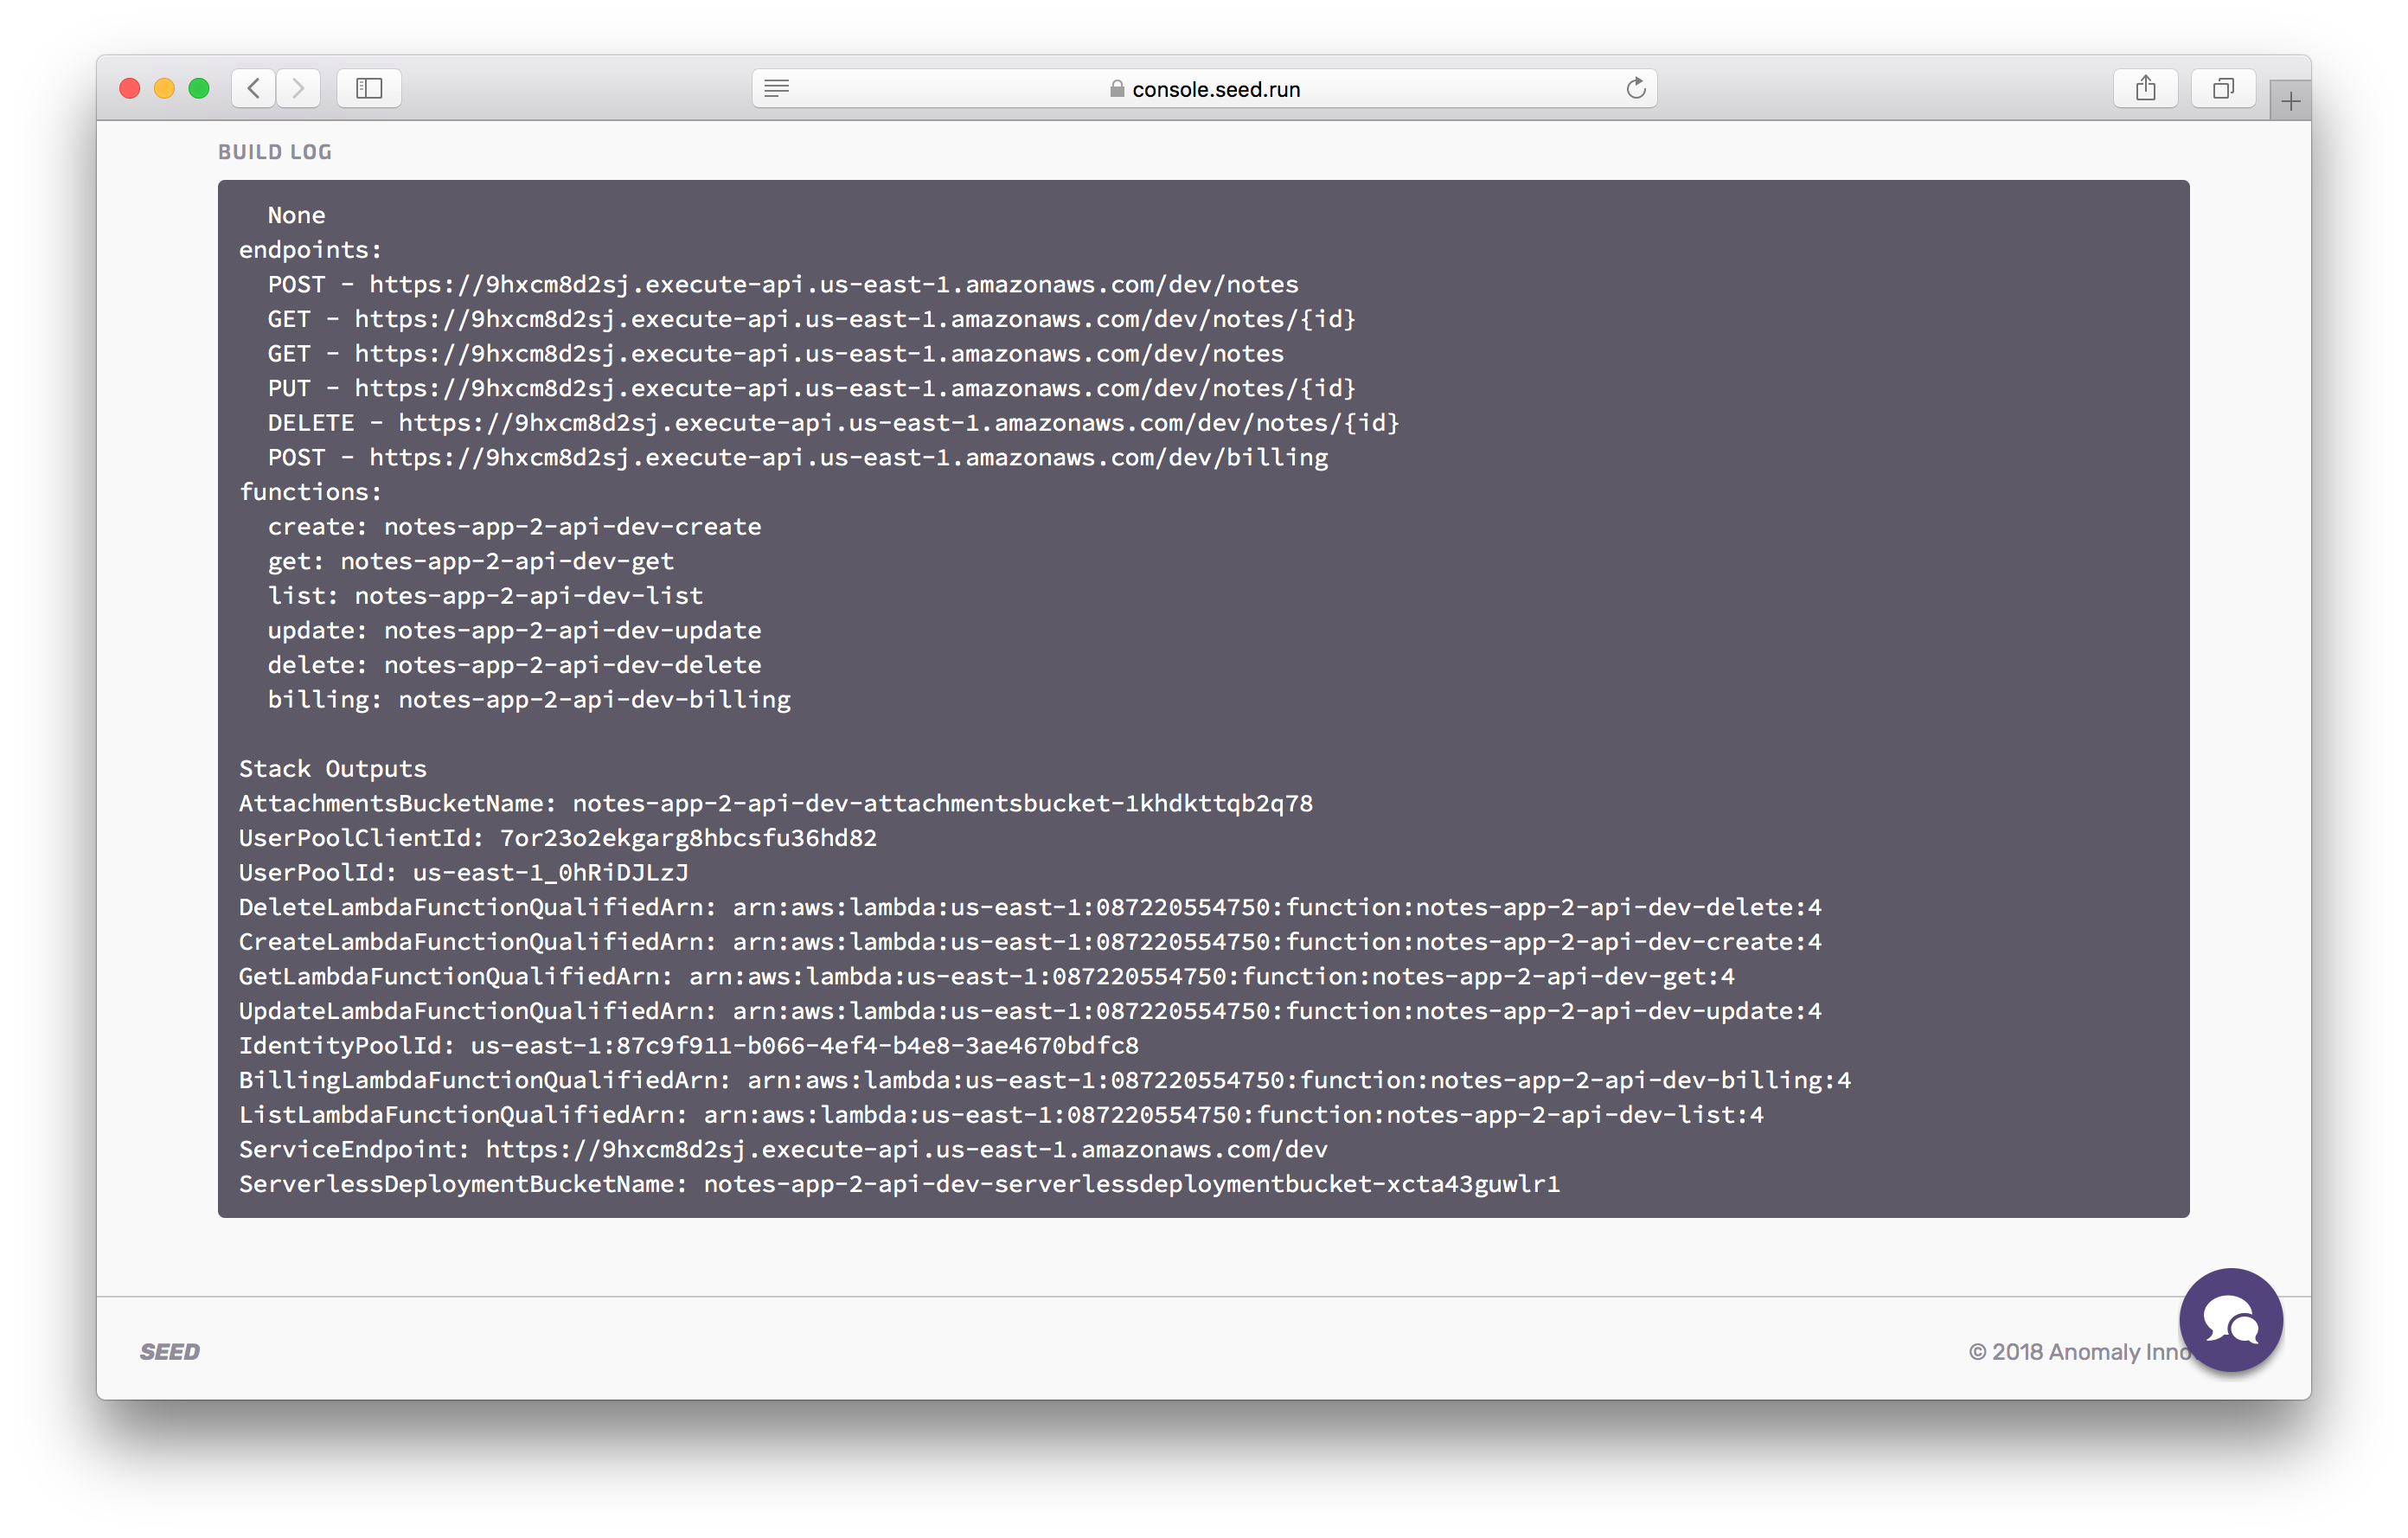
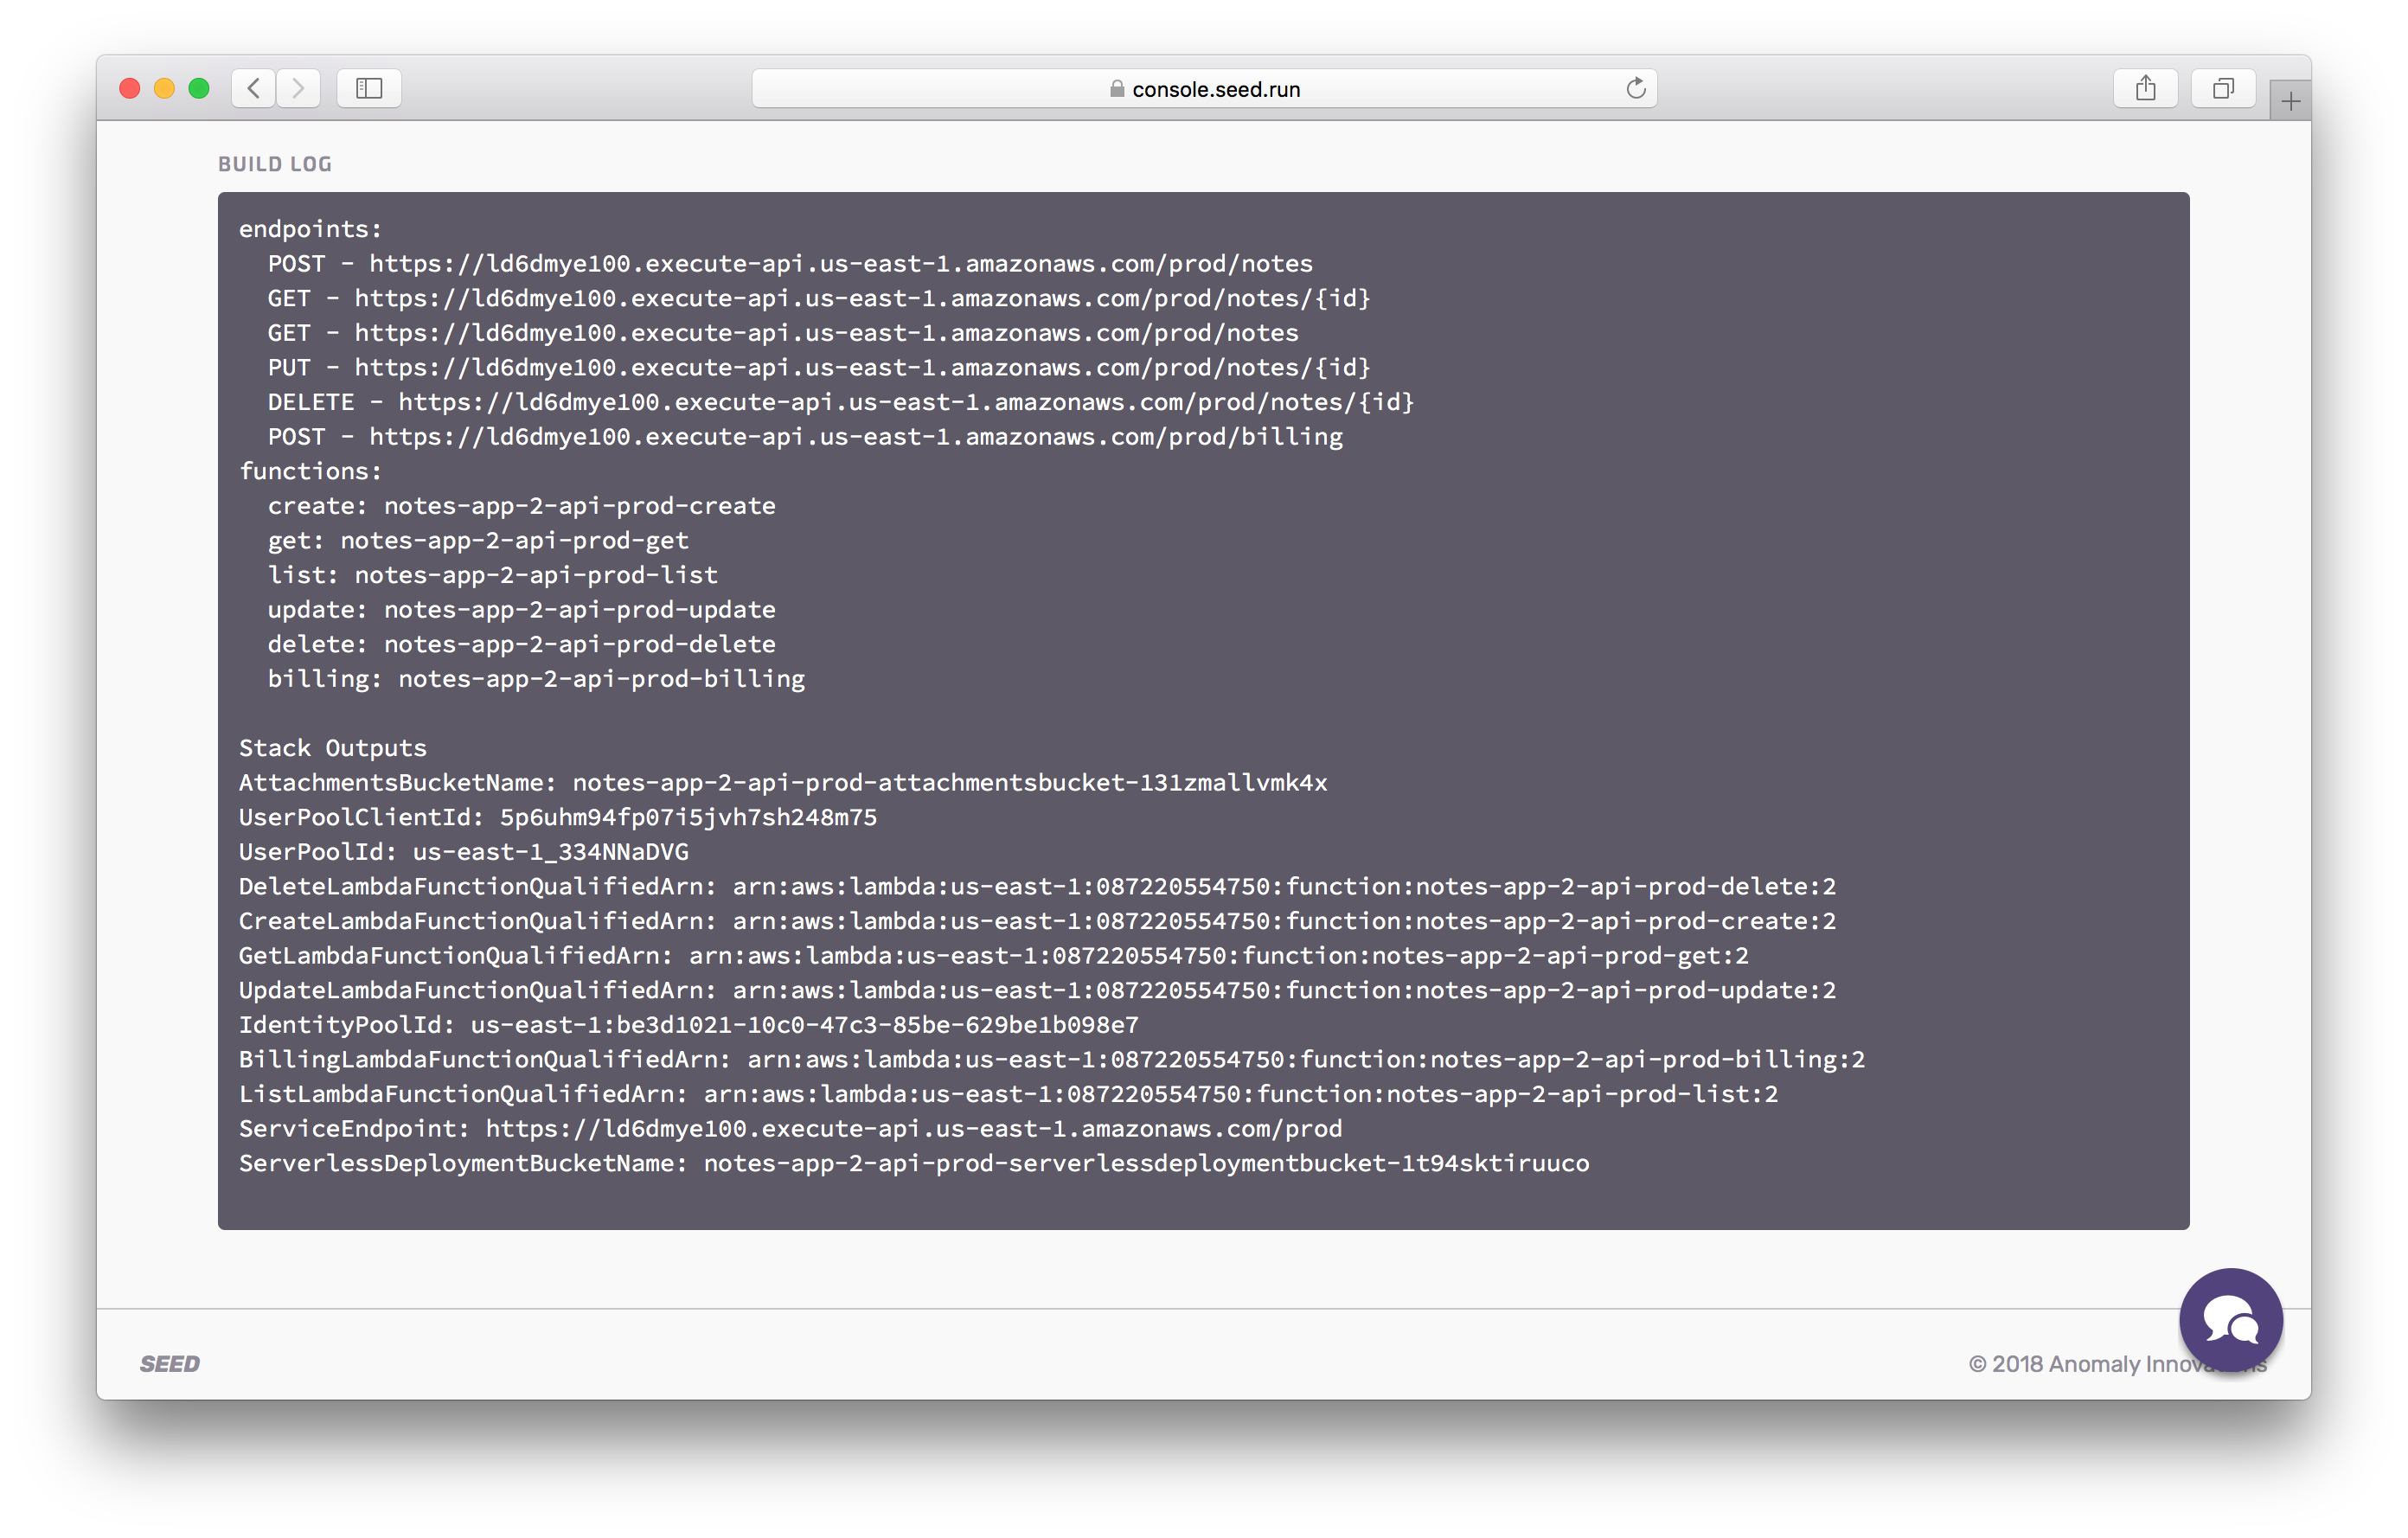
Once the build is complete, take a look at the build log and make a note of the following:
- Region:
region - Cognito User Pool Id:
UserPoolId - Cognito App Client Id:
UserPoolClientId - Cognito Identity Pool Id:
IdentityPoolId - S3 File Uploads Bucket:
AttachmentsBucketName - API Gateway URL:
ServiceEndpoint
We’ll be needing these later in our frontend and when we test our APIs.
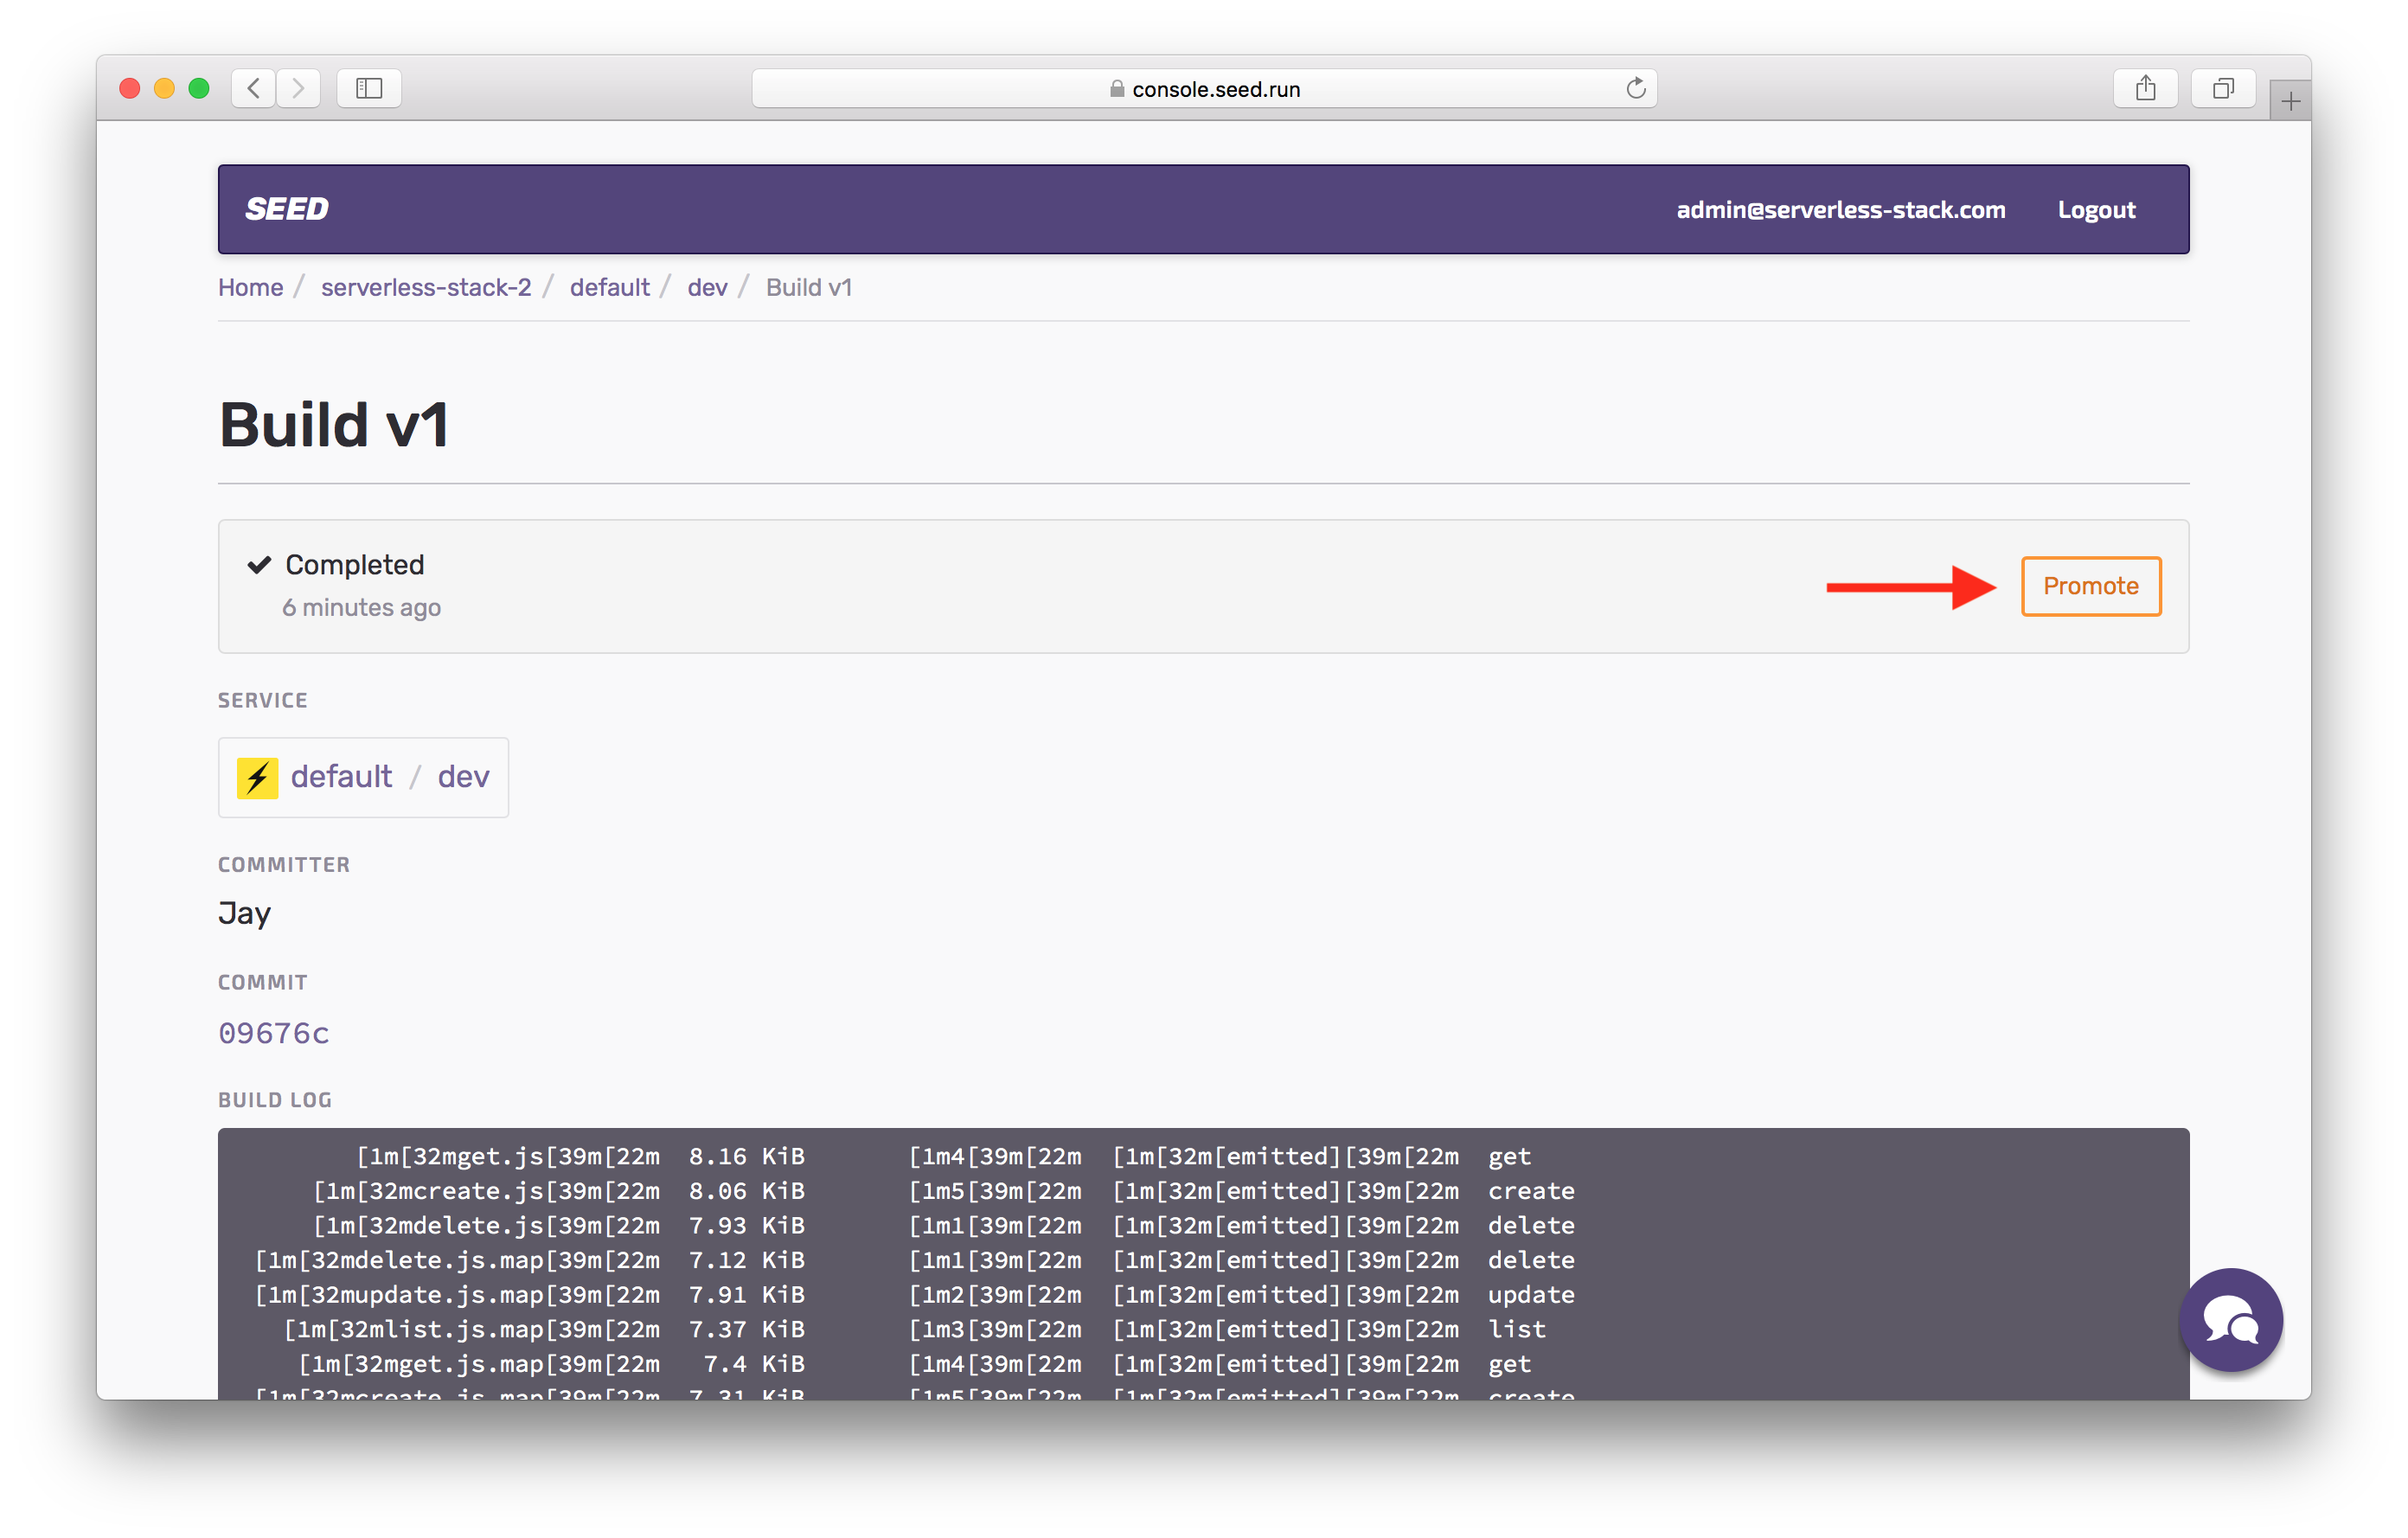
You’ll also notice that we are ready to promote to production.
We have a manual promotion step so that you get a chance to review the changes and ensure that you are ready to push to production.
Hit the Promote button.
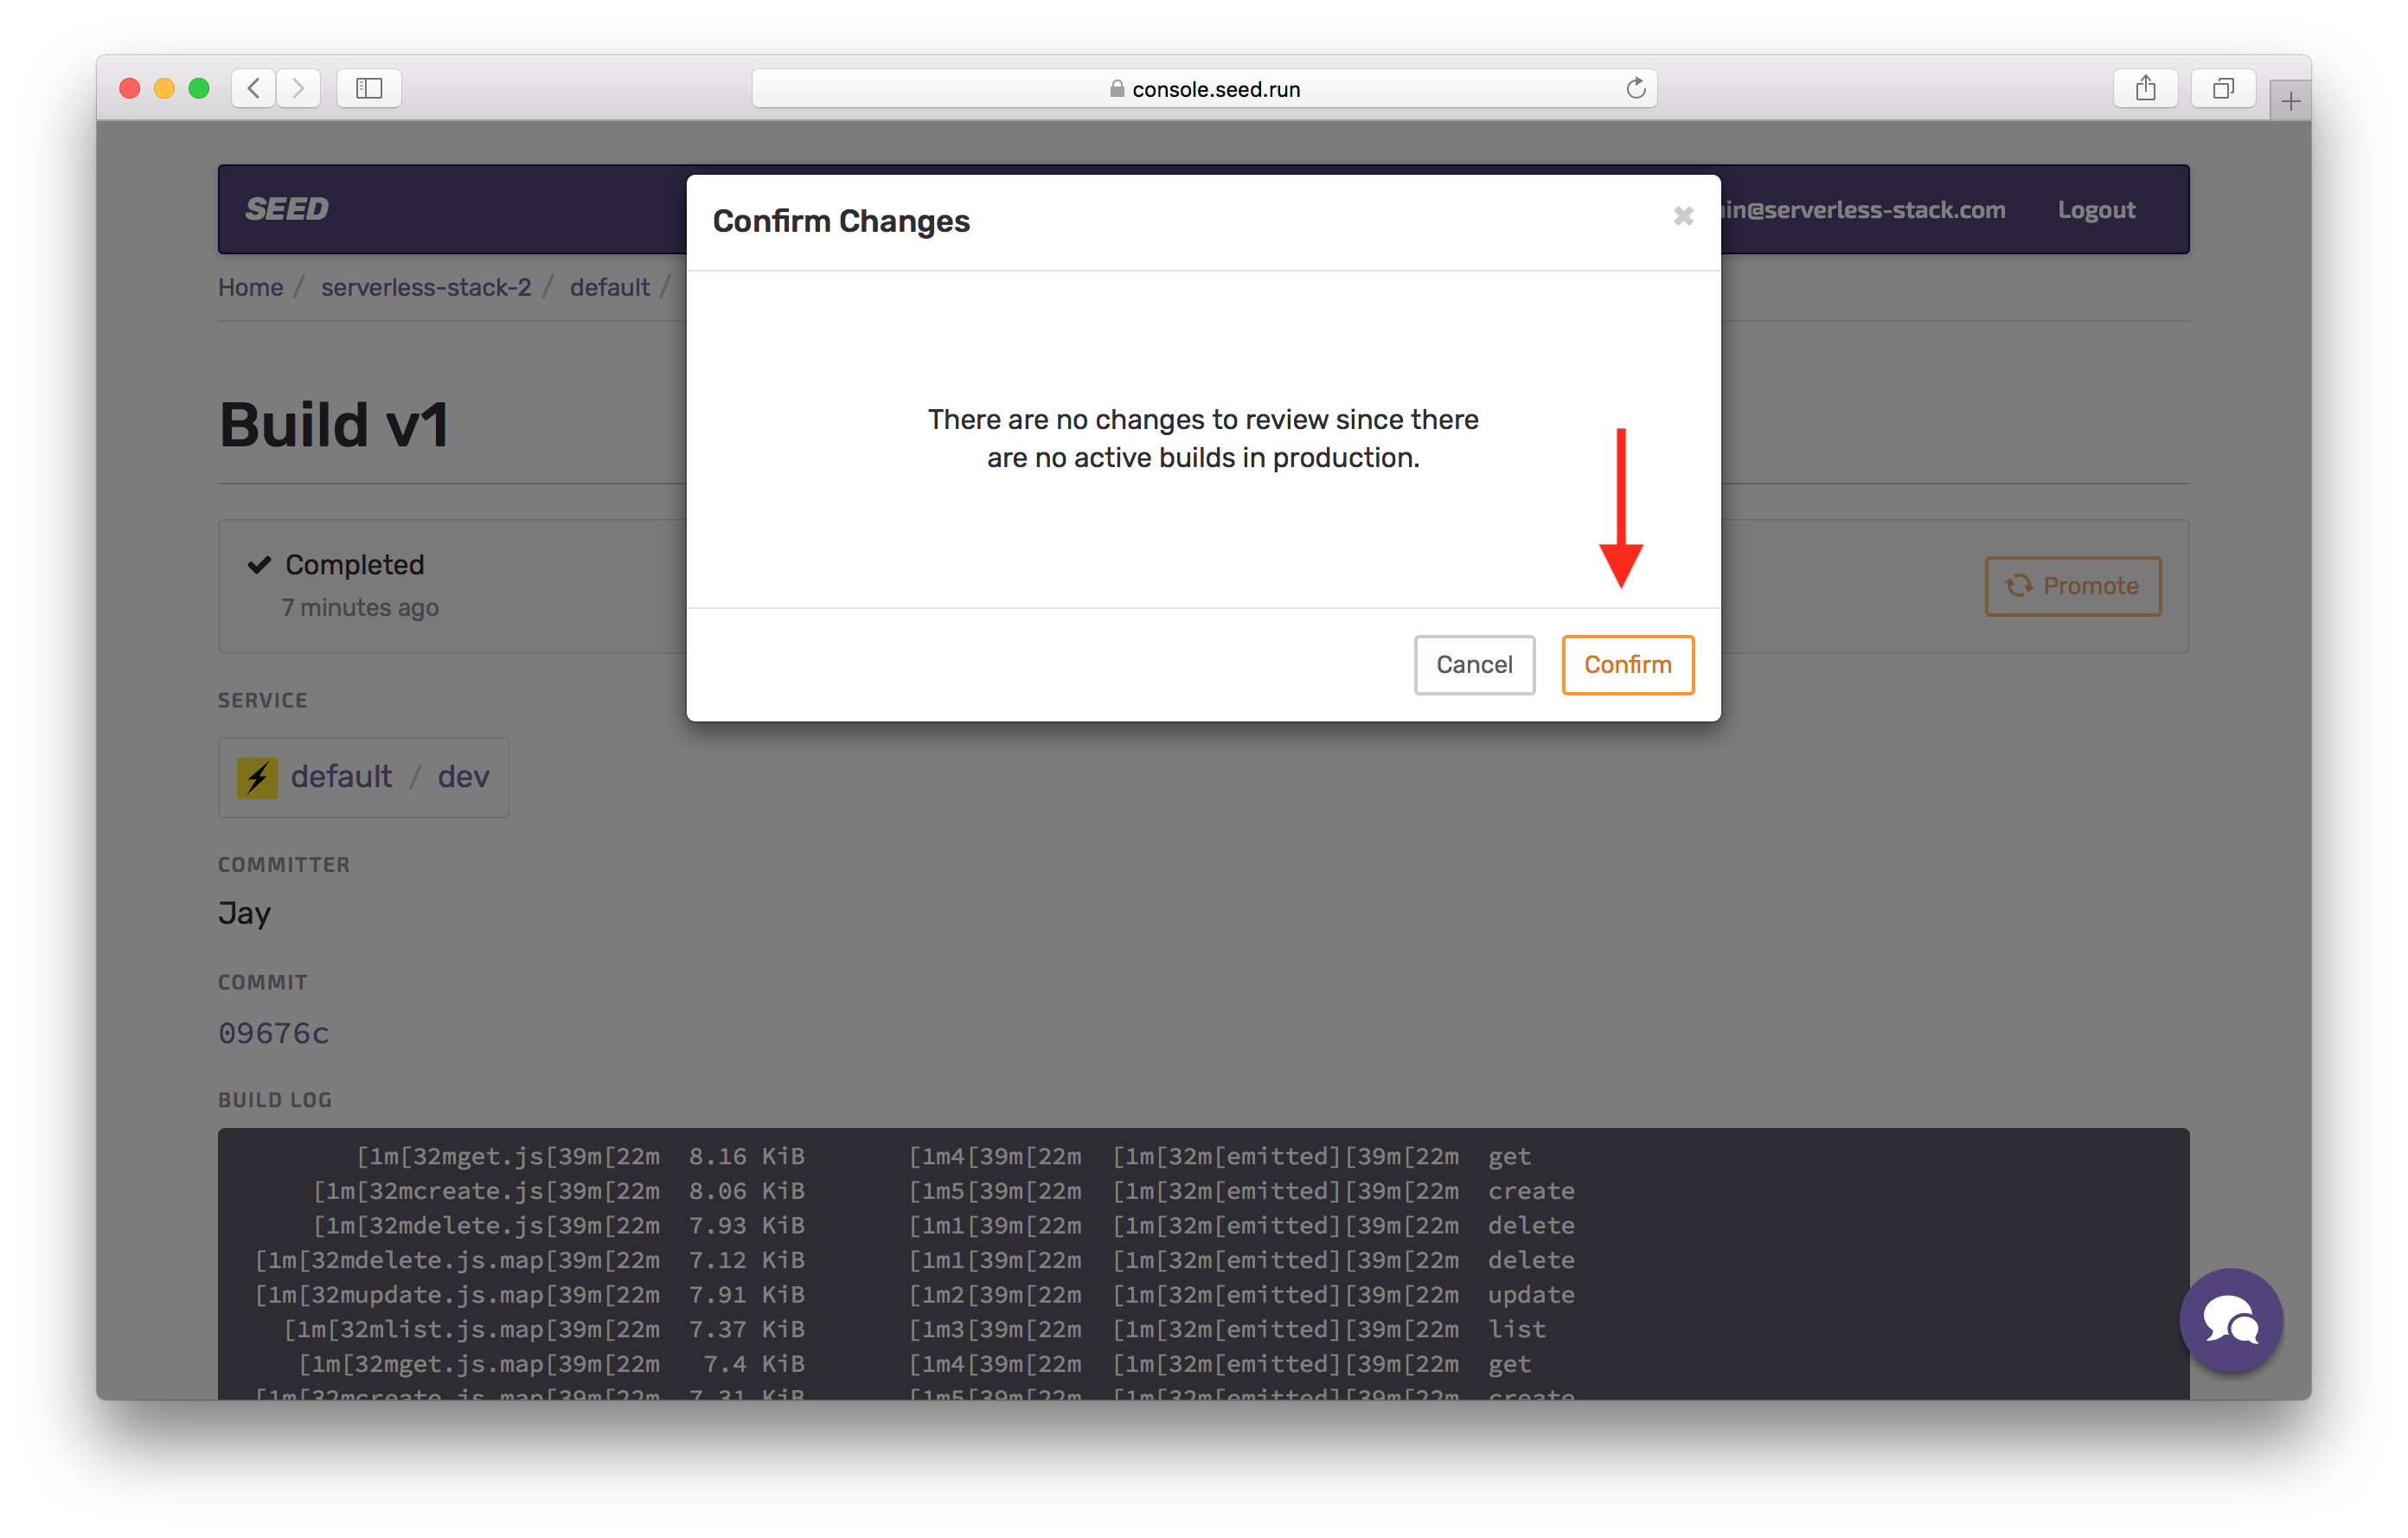
This brings up a dialog that will generate what is called a CloudFormation Change Set. It compares the resources that are being updated with respect to what you have in production. In this case, it is our first commit so we don’t have anything to compare to.
Hit Confirm.
And if you head over to the prod stage, you should see your prod deployment in action.
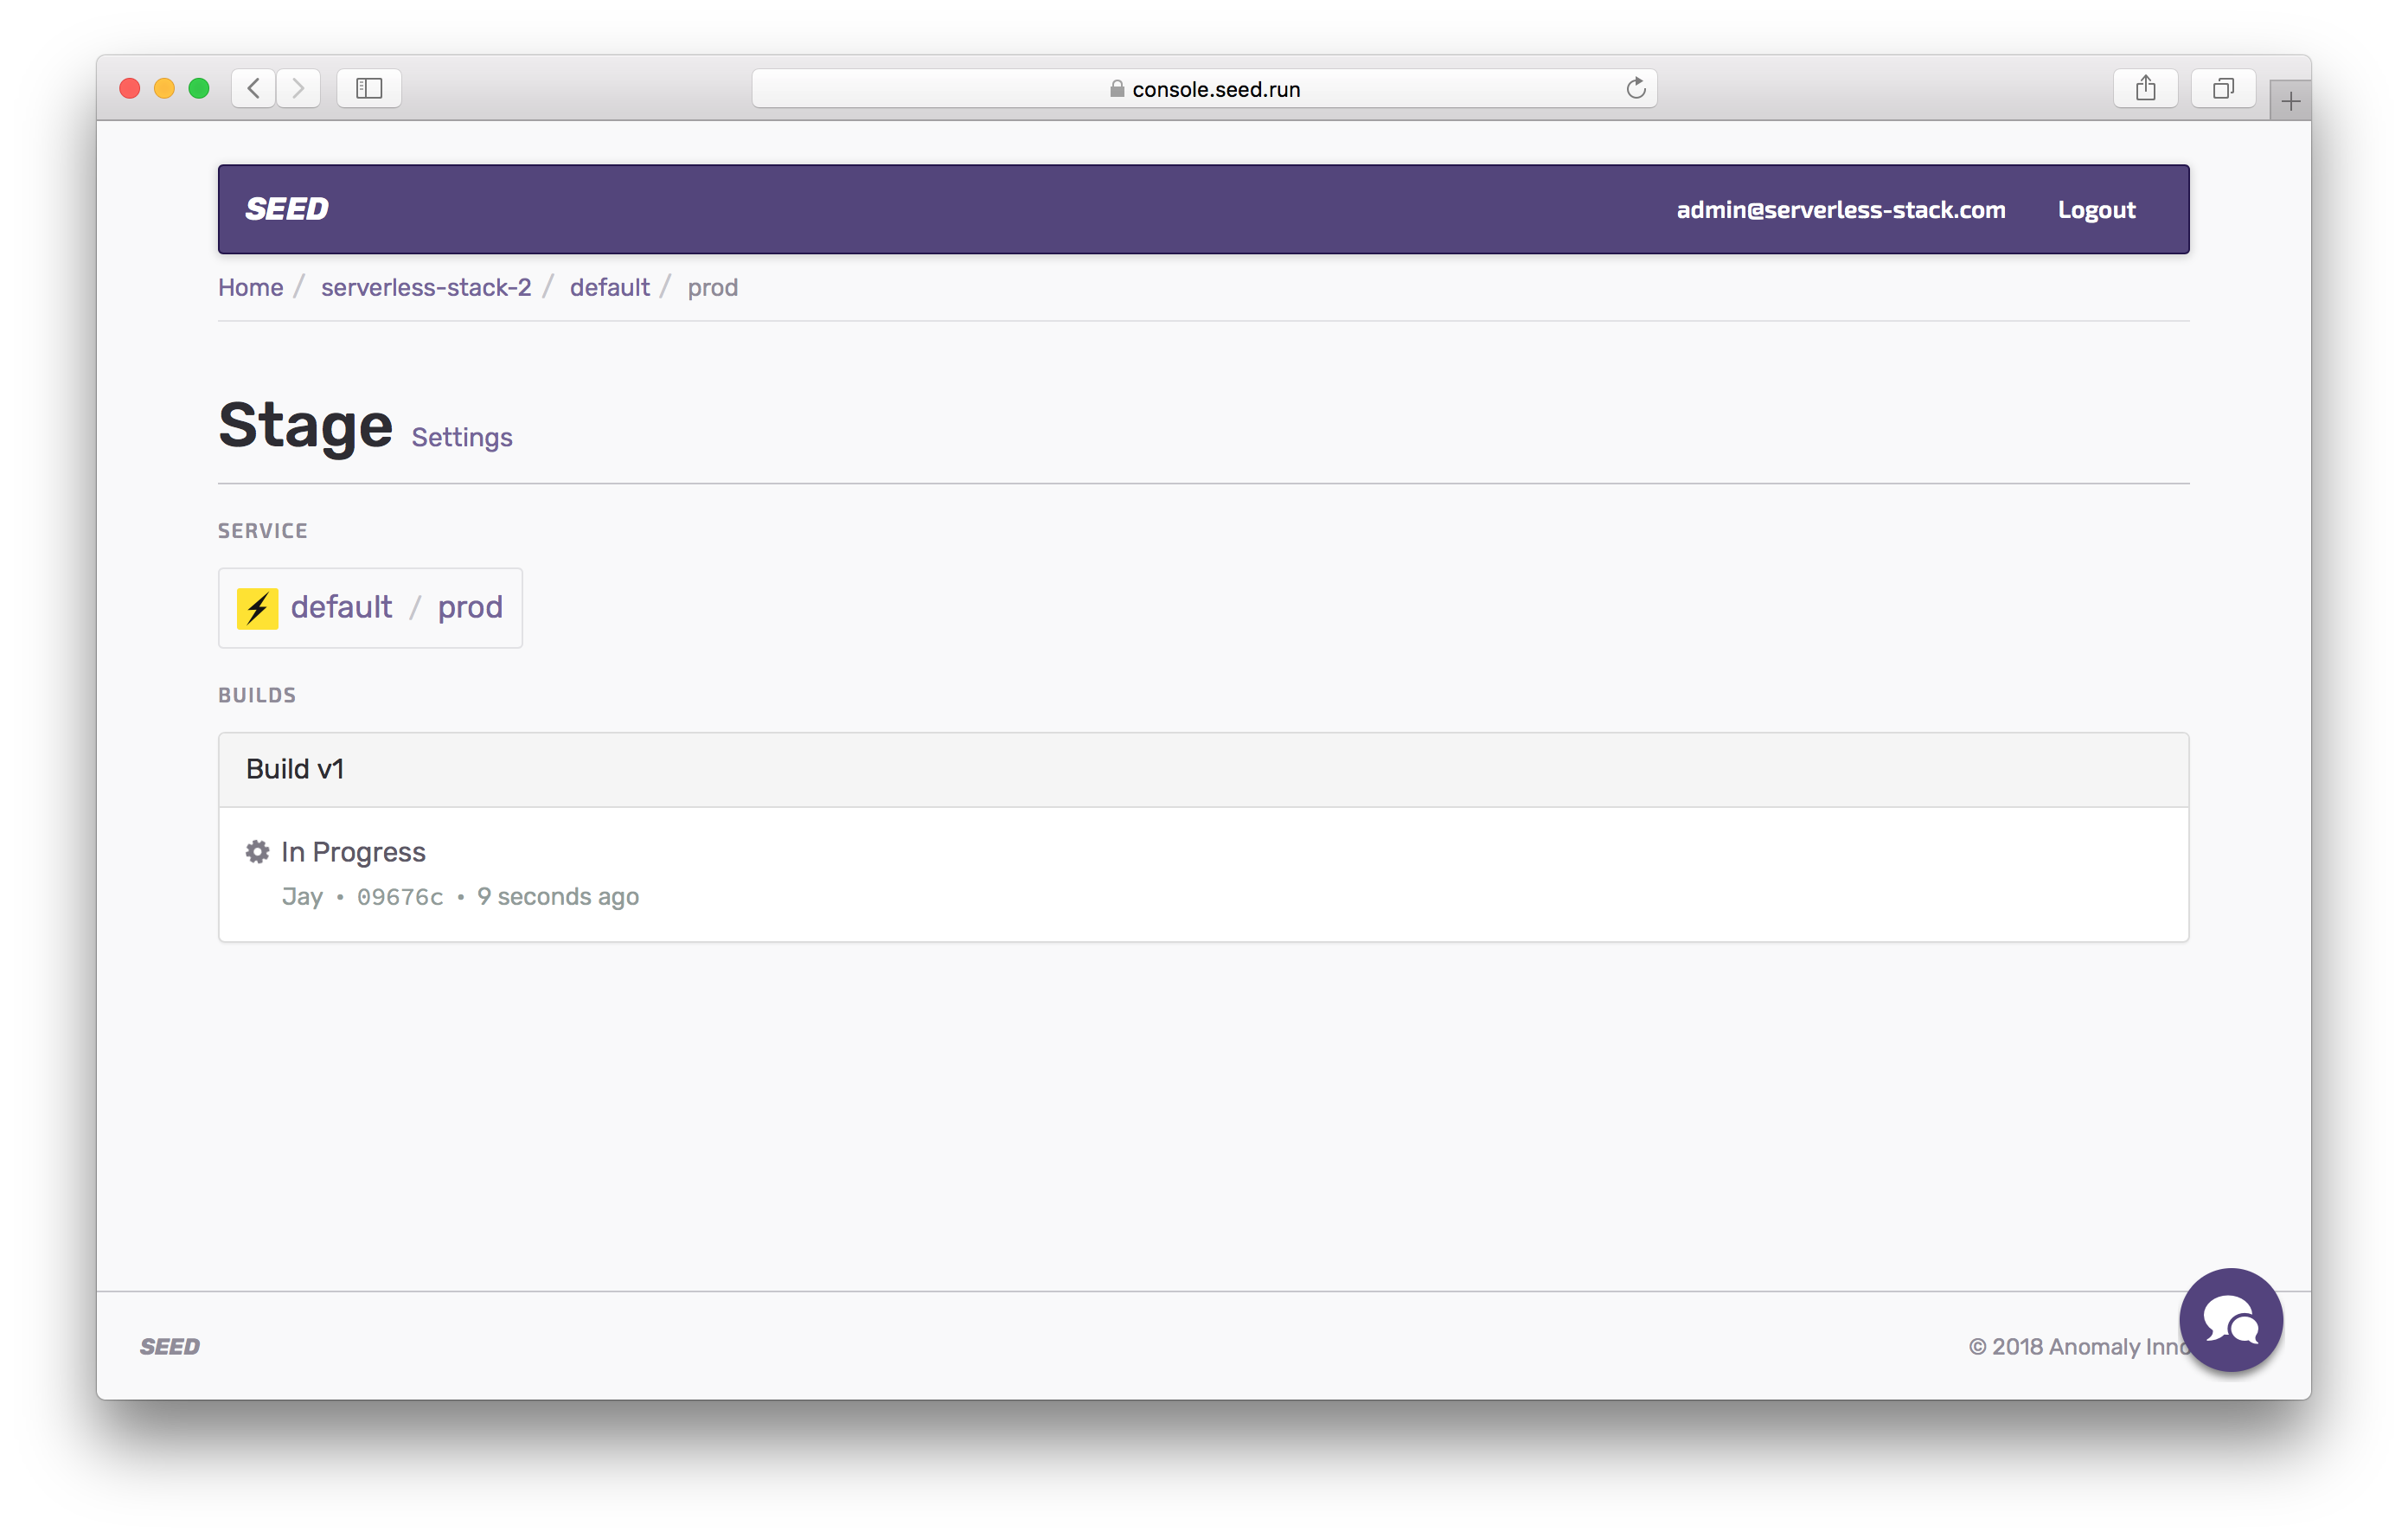
It should take a second to deploy to production. And just like before, make a note of the following.
- Region:
region - Cognito User Pool Id:
UserPoolId - Cognito App Client Id:
UserPoolClientId - Cognito Identity Pool Id:
IdentityPoolId - S3 File Uploads Bucket:
AttachmentsBucketName - API Gateway URL:
ServiceEndpoint
Next let’s configure our serverless API with a custom domain.

If you liked this post, please subscribe to our newsletter, give us a star on GitHub, and follow us on Twitter.
For help and discussion
Comments on this chapter